Last Tuesday I had my mom, my brother's girlfriend Nicole, and my bestie Christina over to the house. It was a day of making Christmas, and it was a tonne of fun. Nicole made some awesome little snow globes out of mason jars with dollar store ornaments inside that were just so charming and sweet, I wish I'd taken a picture. She wrapped and glued twine around the lid of the jar (the base of the snow globe) and added a little raffia bow, and it was just so rustic and lovely.

I made a batch of these charming cinnamon ornaments. They're the easiest darn things, there's only two ingredients: equal parts of cinnamon, and applesauce. In this case I used a cup of each. If your apple sauce is a little wet (my homemade apple sauce always seems runnier than the store bought stuff) you might need a little extra cinnamon. The dough shouldn't be so wet that it is goopy and sticks to your hands, but if you make it too dry it will crack and not hold together. The dough doesn't do so well with a lot of handling/shaping, so I just roll it out and use a cookie cutter, then use a straw to poke a hole to hang it by. Then I bake/dry them in the oven at the lowest possible setting with the door propped open a little to let moisture out. They're done when they're mostly hard, mine had a bit of give in the middle when poked still, but I left them on the table overnight and they finished drying on their own. You could just let them air dry, but it takes days. The hearts here are maybe two and a half inches across and an inch and a half tall, the recipe made about 30 of them, and only one cracked on me while I was trying to thread the string through it!

My mom, inspired by the
Table Runner that we made her for christmas 3 years ago, found some birch branches and had dad slice them into 1/4 inch thick rounds for us to get crafty with. We keep using birch rather than some other woods because I was told it's less likely to crack as it dries out.
With the help of a wood burning tool and some twine we turned out some pretty neat snowflake and woodland animal ornaments, and a couple of Christmas-y banners like the one above.
Wood burning tools are easy to use, and fun, but of course also dangerous, so use with care, they get extremely hot. They can be picked up for $10-20 at most craft stores or hardware stores. You just plug it in, wait for it to get hot, and write or draw with it like a pen. It takes a while to get the knack for how fast it will burn the wood, and sometimes it'll catch the grain of the wood and skip along trying to follow that if you're not careful. The edge of each ring is tougher so it will take longer to burn and if you try to go too fast the tip will turn aside and follow the softer wood between the rings. Go slowly.
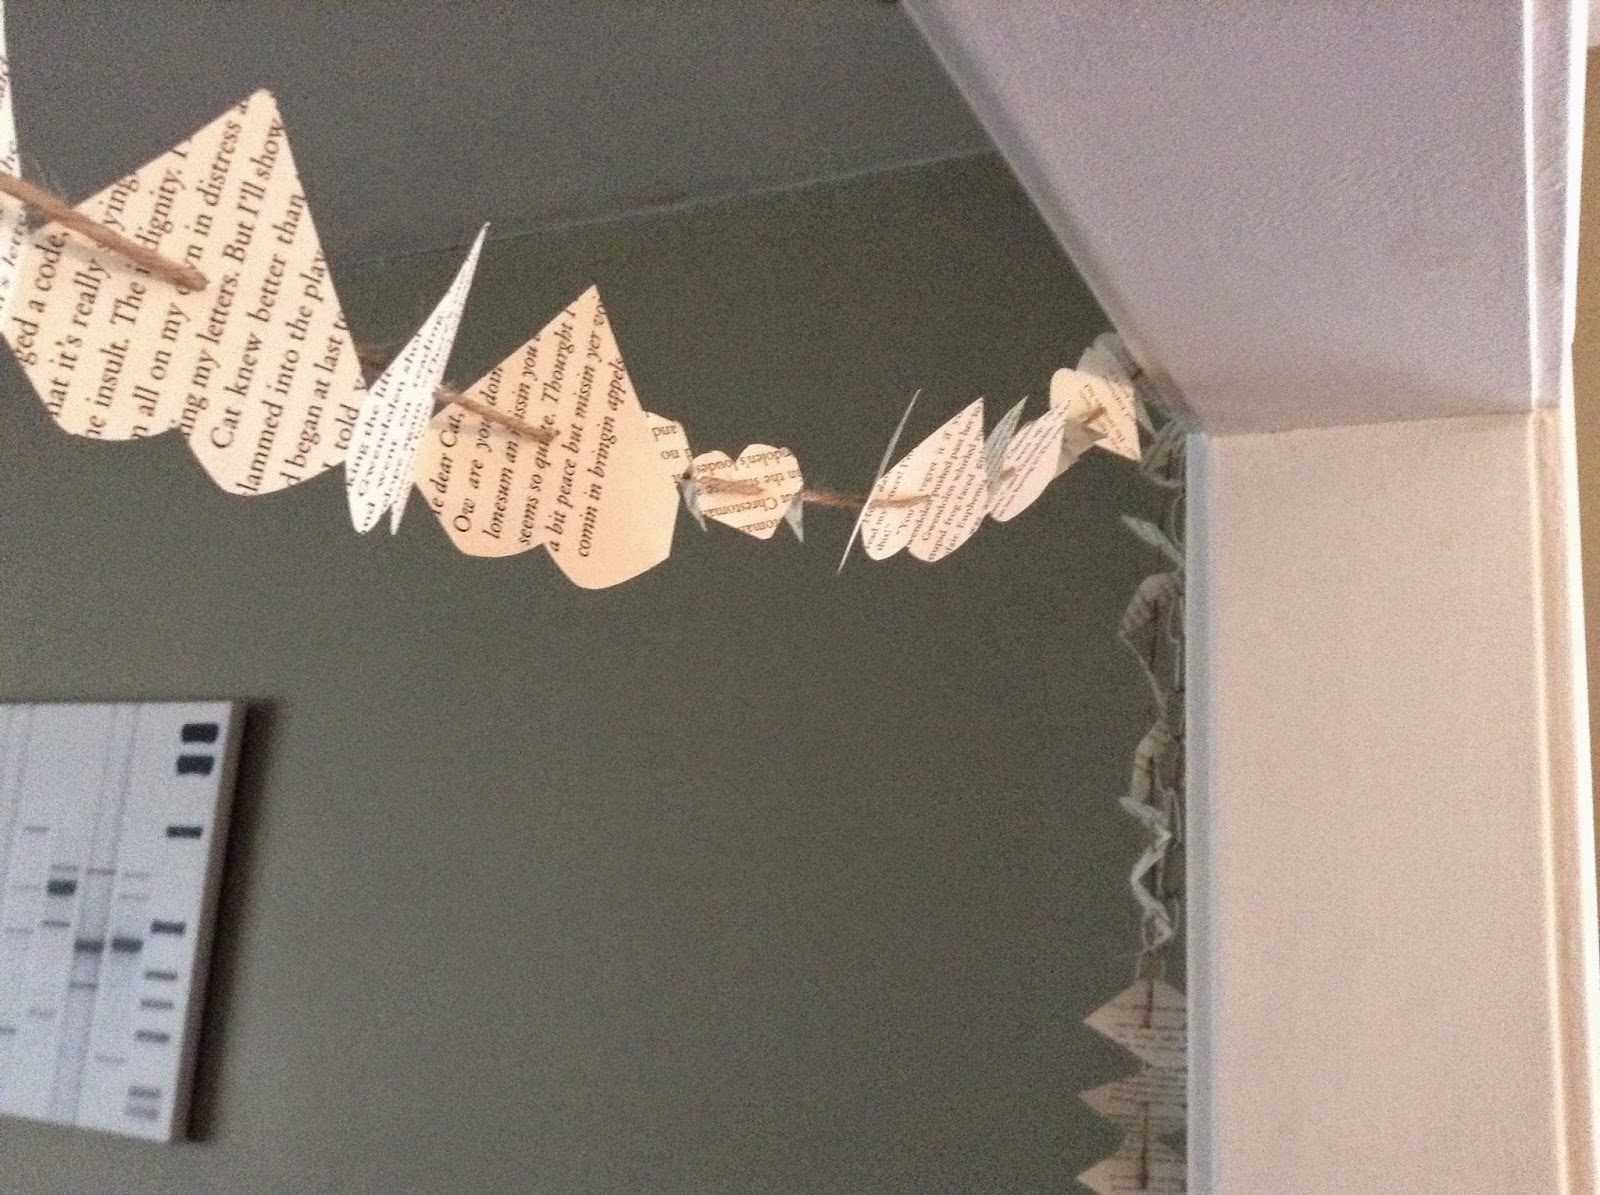
The last thing I made that day is a garland for the tree. Here it's strung up in my door way to keep it from getting crushed until our tree goes up. All I did was take strips of paper from an old book that was falling apart, fold them accordion style, and cut out little hearts, making sure to leave a section of the edges intact, like making paper dolly chains. Then I took a huge darning needle and some twine and poked it through the center of each heart and when they were all on the string, starting from the needle end, carefully spread them all open. It really didn't take that long, and I think it's gonna look great on the tree.
I've got plans for more, but that's all I've got for now.


No comments:
Post a Comment